
I’ll get a photo of the owner modeling it as soon as I can. Since it will have to be transported across a few states, I’m leaving the basting in the pleats for now. Next, let’s compare pleating patterns.

I’ll get a photo of the owner modeling it as soon as I can. Since it will have to be transported across a few states, I’m leaving the basting in the pleats for now. Next, let’s compare pleating patterns.
The pleats are crisply pressed. Double fringe adorns the apron. The kilt has buckles, straps and loops. I feel like it’s done. I’ve been working so hard on it that I WANT it to be done. But wait. Remember all that ugly grayish canvas with the black tailor’s stitches that’s on the inside?

I want my finished garment to be gorgeous, inside and out, so I add lining.
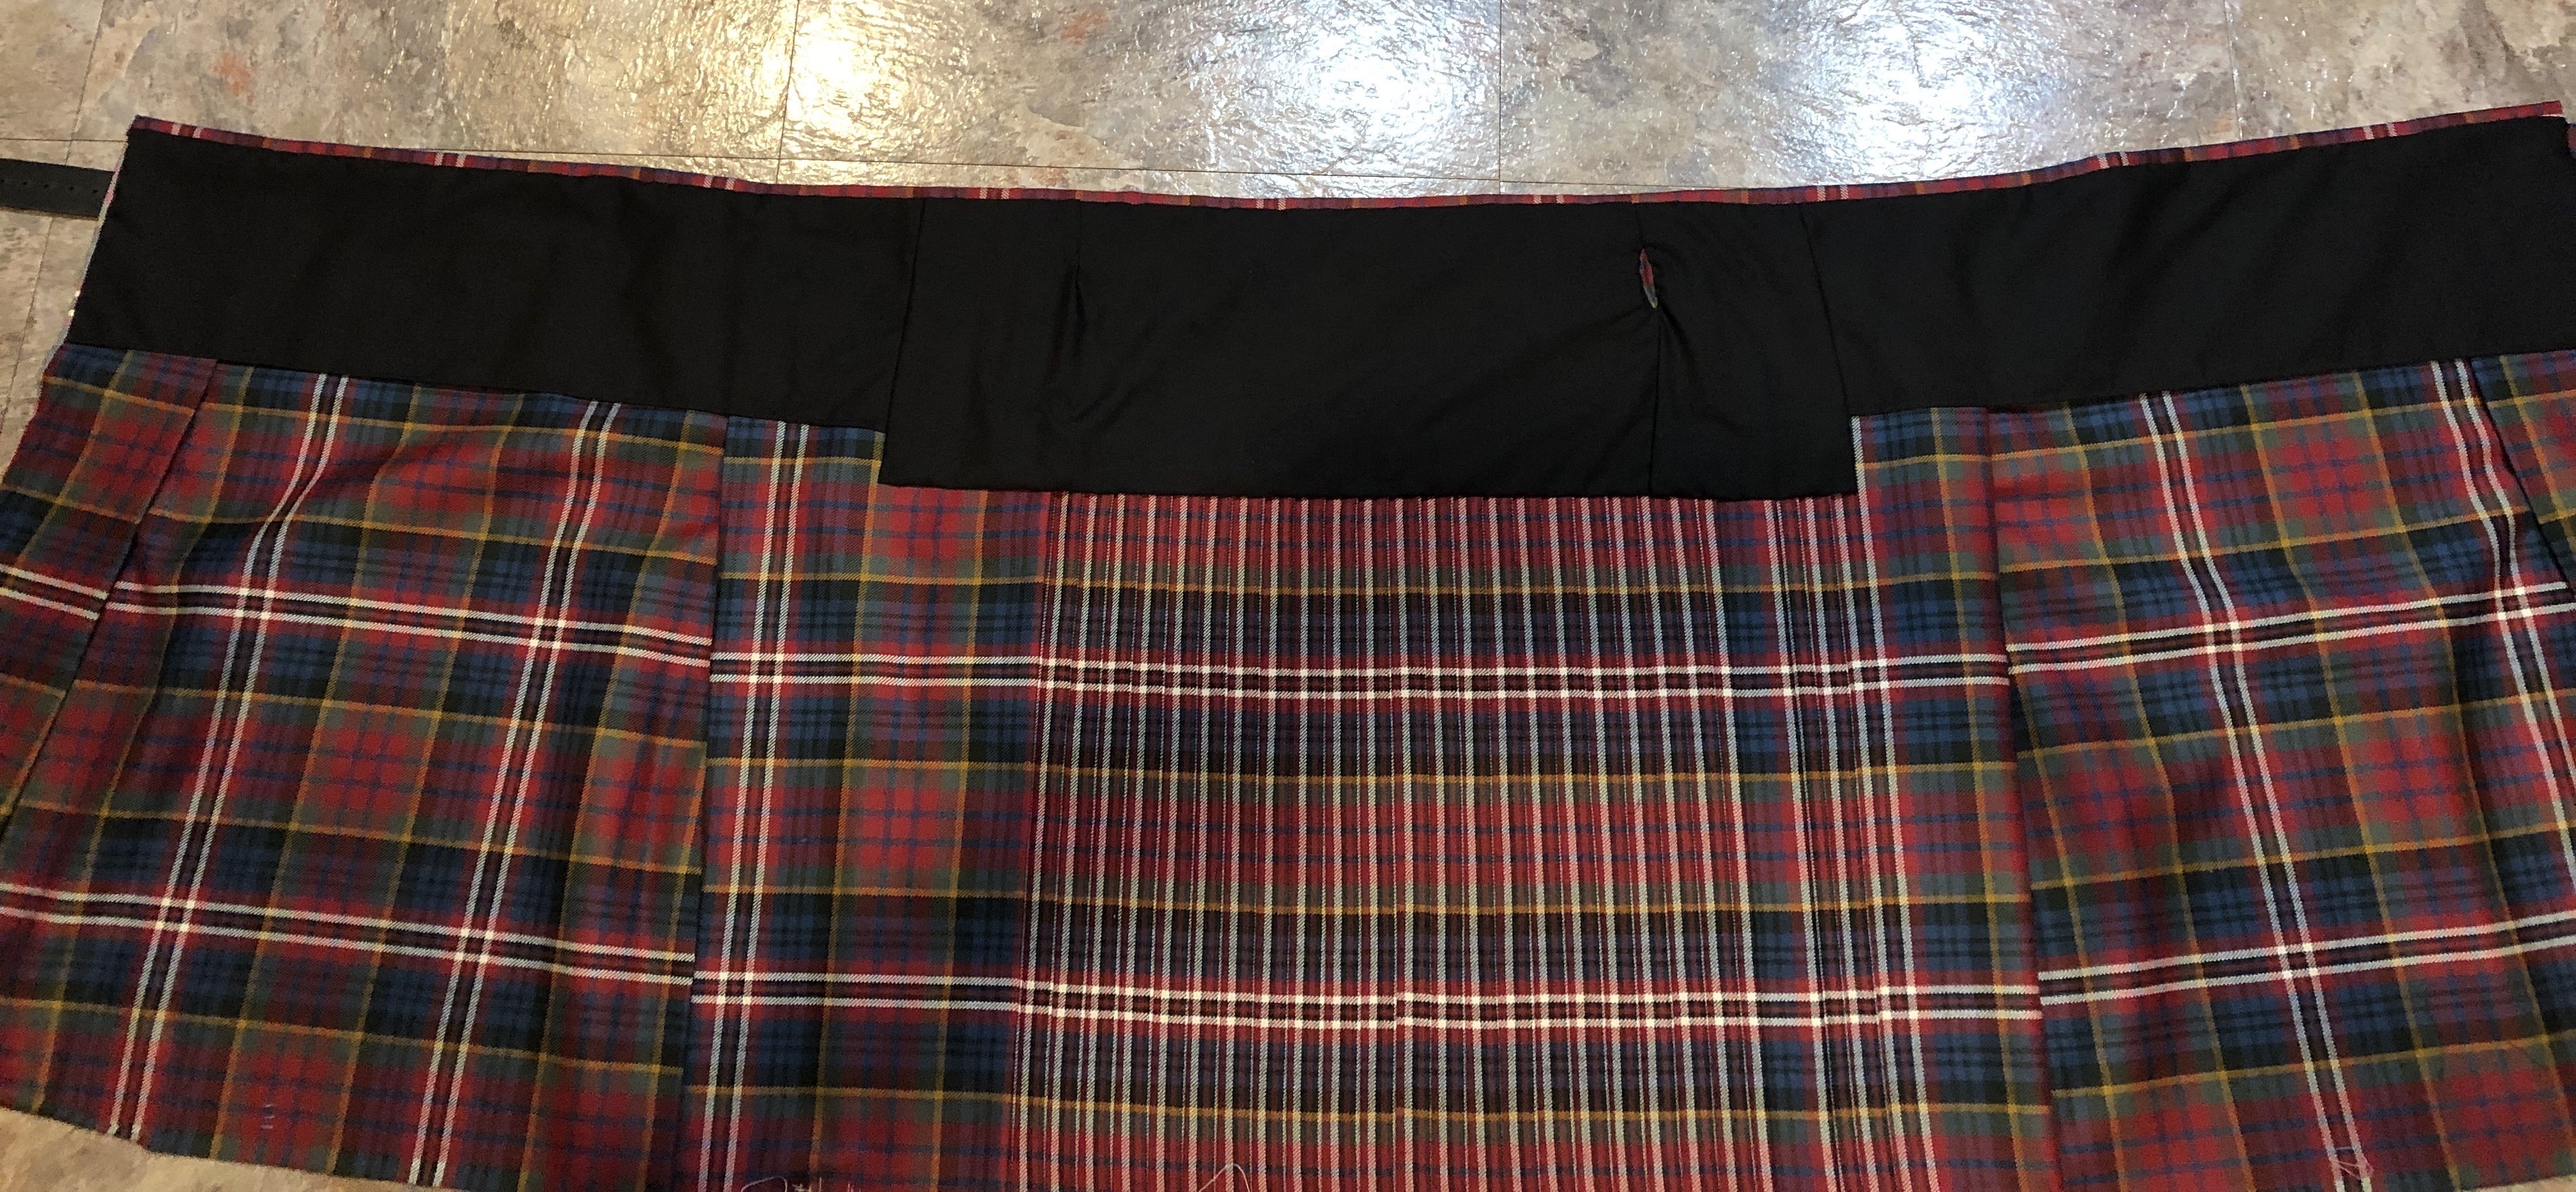
Like the canvas it goes on in three pieces. I don’t enjoy this part because each piece has to be fitted to accommodate the tapering from hip to waist. I probably fuss over it more than I should. The part over the middle is a little longer to cover up the pleat cut outs. On the upper right of the middle piece is the buttonhole opening. I always struggle with making the slit, getting the fabric to fold back smoothly, and stitching it neatly in place. And I’m never satisfied with the result. Someday I’ll figure out how to do it better. But hey, the lining is in! The inside looks polished and will be more comfortable to wear. I take out the last of the basting on the aprons. I’ll leave the basting on the pleats until I get the kilt to its owner. Next I’ll show off the finished kilt and then I’ll compare the pleating pattern to other MacPherson Red Muted kilts I’ve made.
