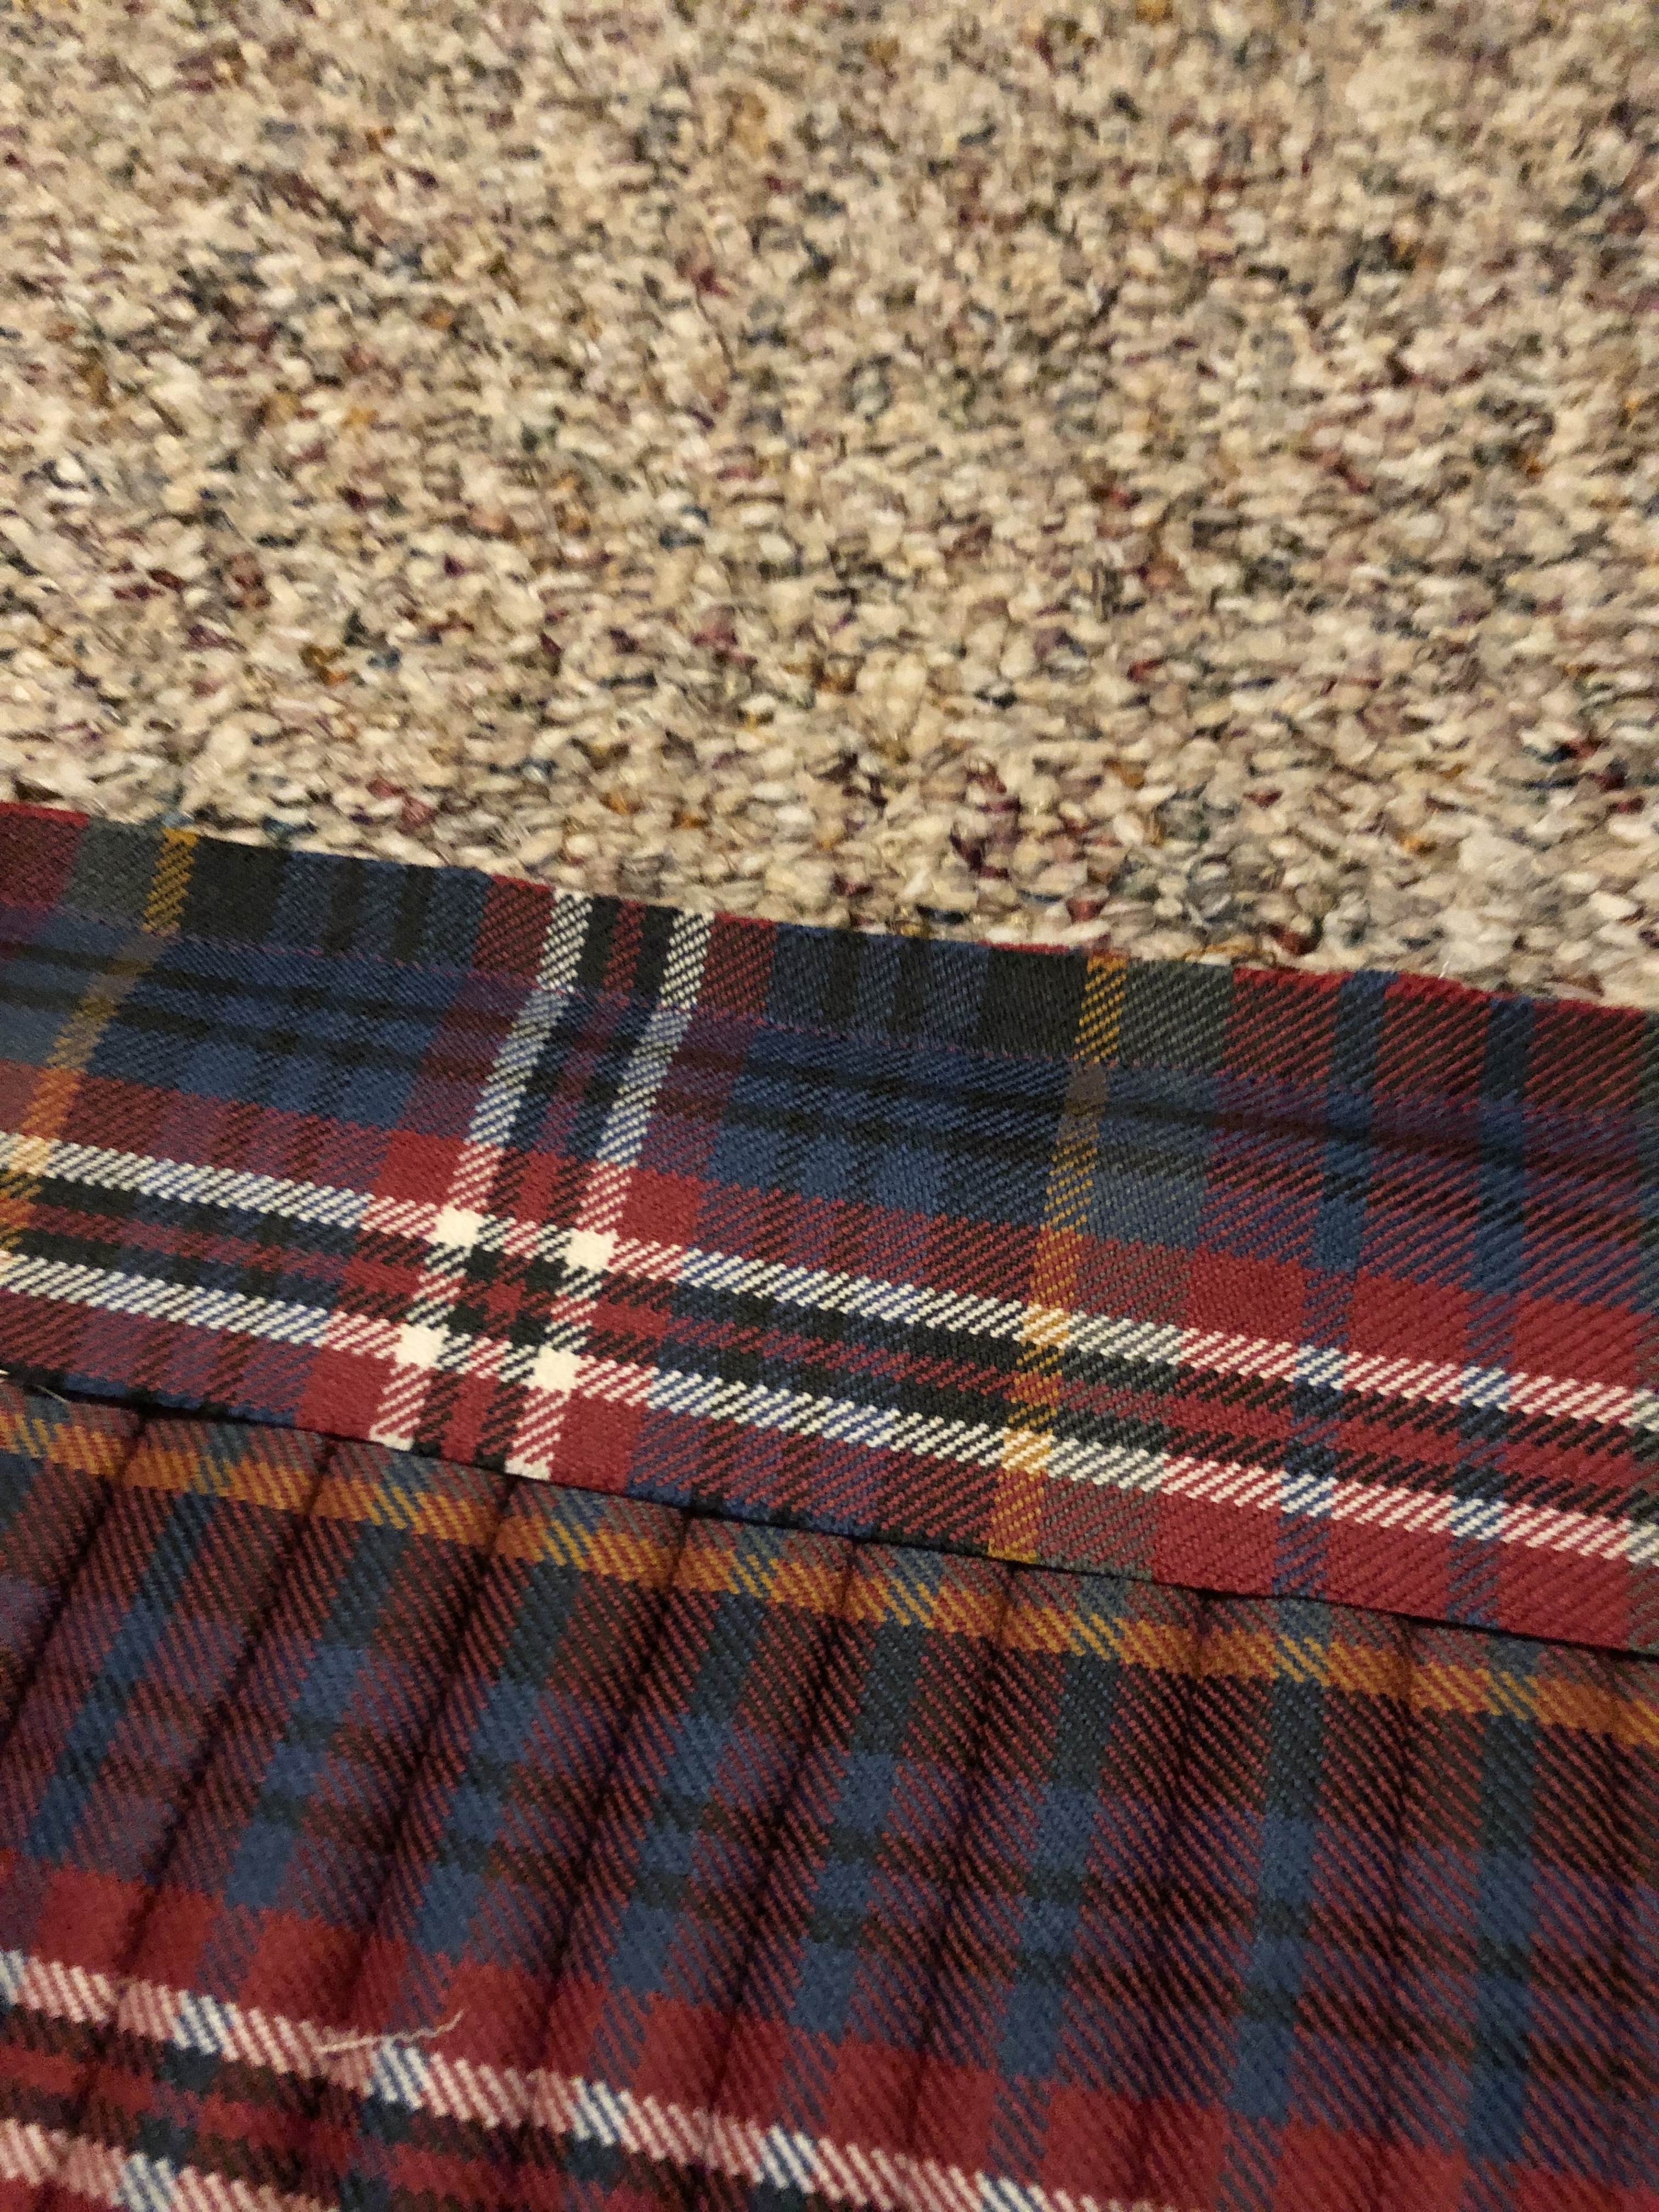
The only time in the entire kilt-making process when I use a sewing machine is to attach the waistband. You can see the row of uniform stitches in the first photo.

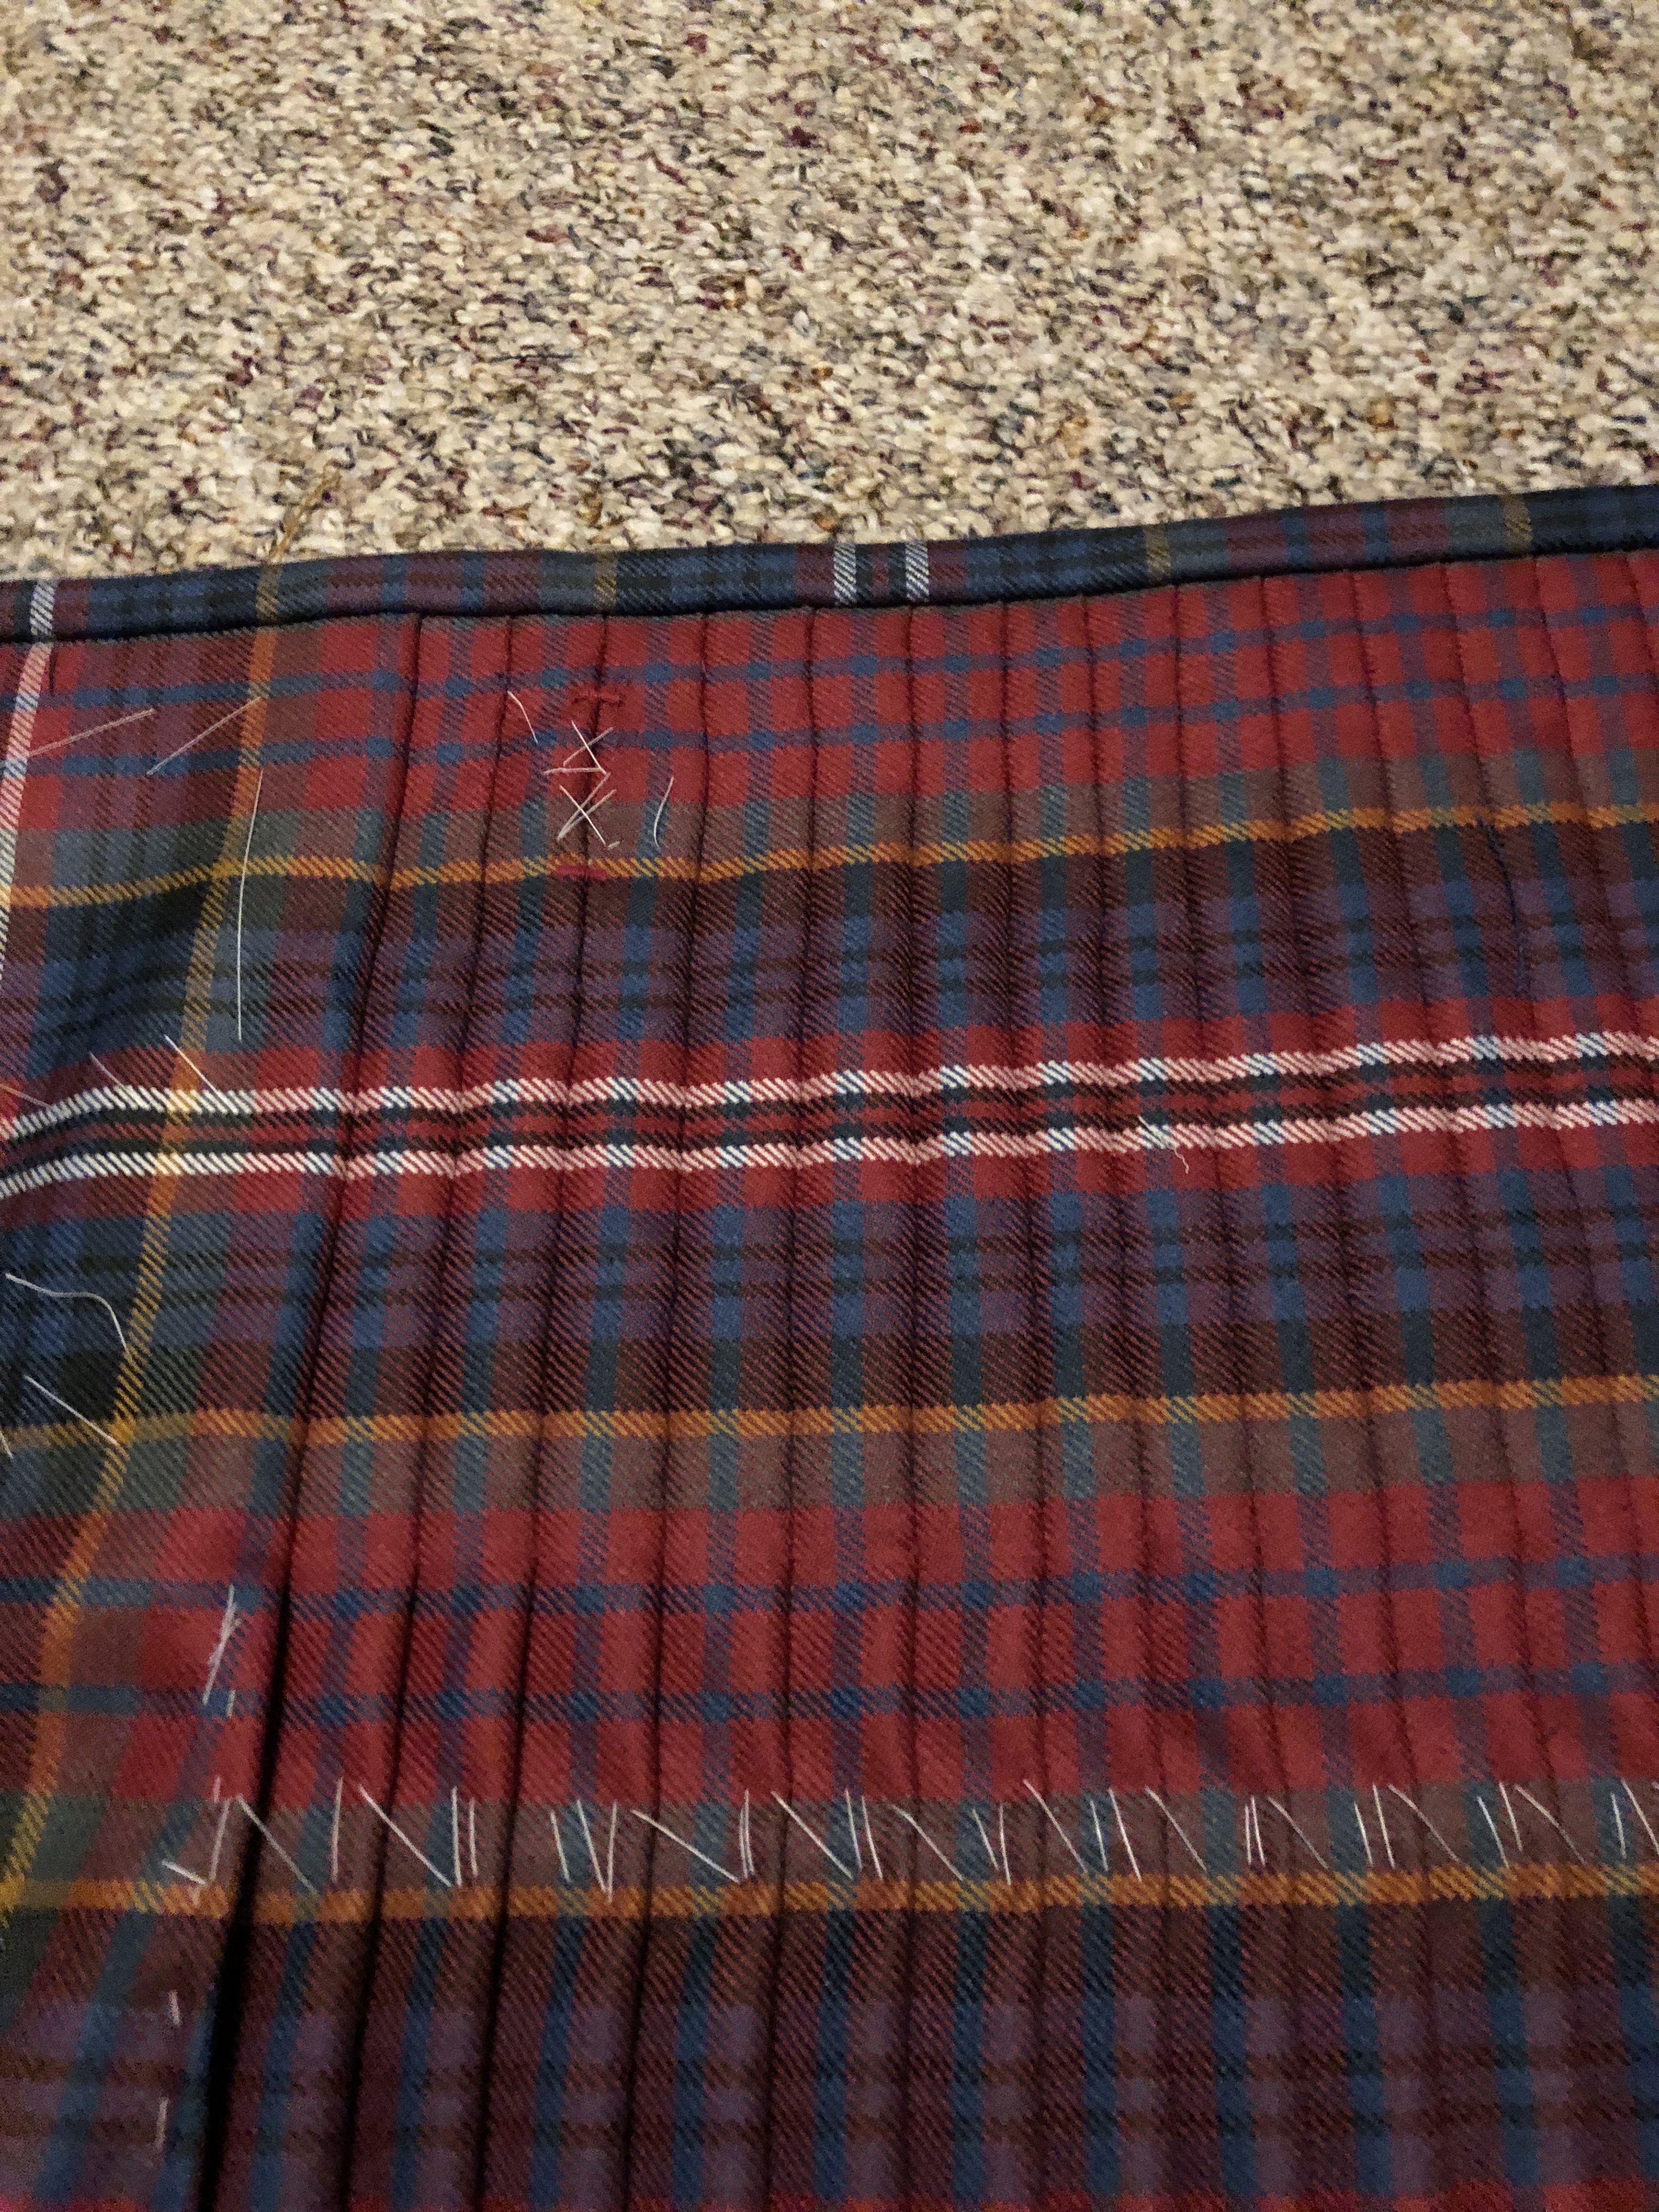
Then I fold the band over the top of the kilt and anchor it to the inside with carpet thread (second photo).
The trickiest part is making sure the stripes on the band match up exactly with the stripes on the apron, which is the front of the kilt. In photo three, the apron is on the left, and the vertical stripes line up across the two pieces. The syncing can’t continue across the pleats because they are tapered from the fell and also centered on the same stripe. That loss of band-to-pleat match up occurs in almost all kilts. I’m qualifying the statement with an “almost” because I don’t know every tartan, and because there might be a pleating scheme where such a cosmic alignment happens. Maybe someday I’ll get to see it.
The white Xs are holding closed the “buttonhole” for a strap. The purpose for all the basting is coming up next. It’s time to pull out the stream iron and get ready for pressing!


